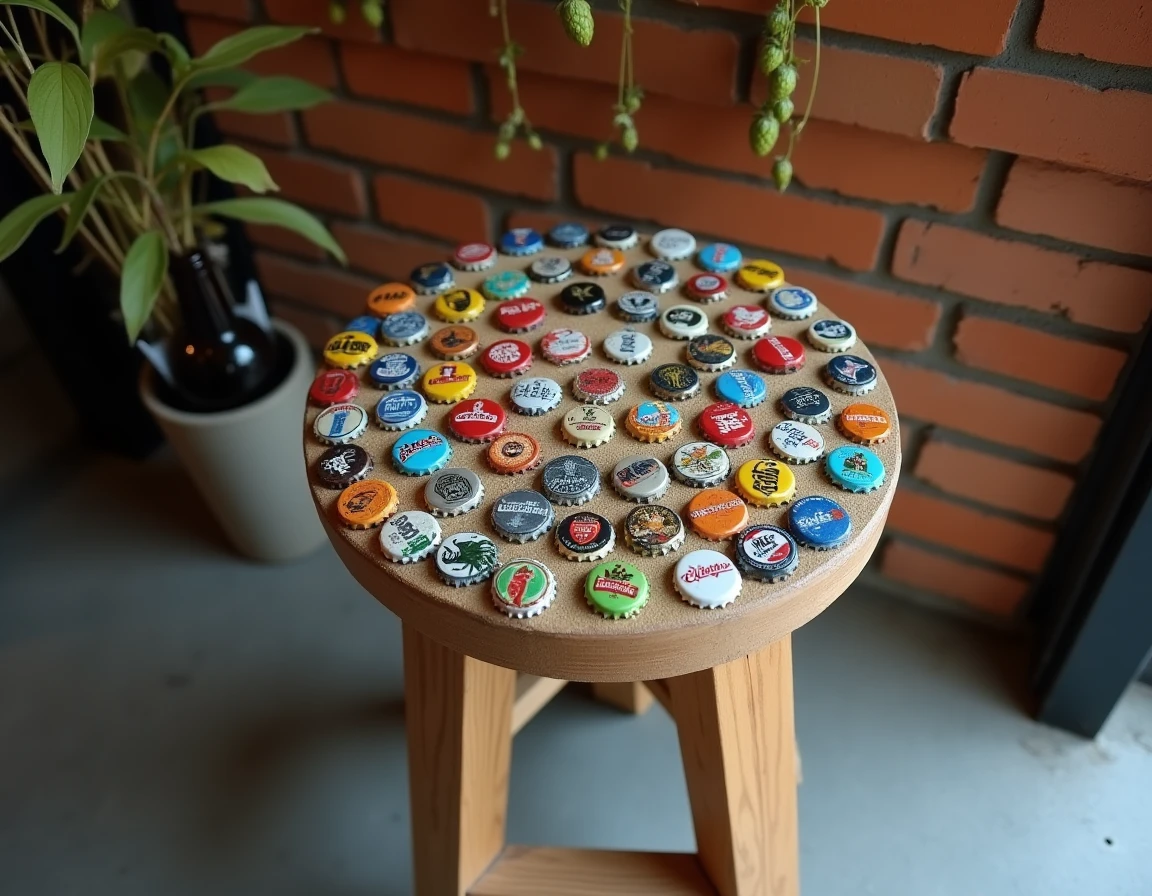
Gluing beer caps onto a stool is as much about decorative adhesion as it is about preparing a functional seating surface. The thin metal of the caps, their domed shape, and sharp edges present specific technical constraints that most DIY tutorials overlook. Transforming a stool into a usable object requires addressing three distinct issues: adhesion to wood or metal, protection against sharp edges, and resistance to wear.
Epoxy resin on beer caps: the only finish that holds on a seat
The majority of DIY cap projects are limited to gluing the pieces onto a surface and then varnishing them. This approach works on a coaster or a wall frame. However, on a stool where one sits, it poses safety and durability issues.
The edges of beer caps are thin and slightly raised. Without a covering, they snag clothing, scratch skin, and accumulate dirt. The casting epoxy resin remains the most reliable solution to encase the caps in a smooth, hard, and transparent surface.
Feedback from specialized resin forums over the years confirms that the main difficulty is not gluing the caps but the formation of microbubbles in the resin. These bubbles appear when in contact with metal and in the hollows beneath the caps. Sanding between two layers, followed by a second application of resin, eliminates this flaw. Without this step, the surface remains rough and traps dirt.
Before detailing the gluing protocol, it is useful to understand how to glue beer caps onto a stool considering the type of support and glue.
Preparing the wooden stool before gluing the caps
The choice of stool determines the success of the project. A raw wood stool with a flat seat offers the best base. Concave or curved seats complicate the placement of the caps and the pouring of resin, which tends to accumulate in the center.
Sanding and priming the support
The wood must be sanded with medium grit and then dusted off. A layer of primer (or simply a first thin layer of epoxy resin) seals the wood pores and prevents bubble formation from the outgassing of the support. This step is often overlooked, yet it is crucial for the quality of the finish.
Arranging and fixing the caps
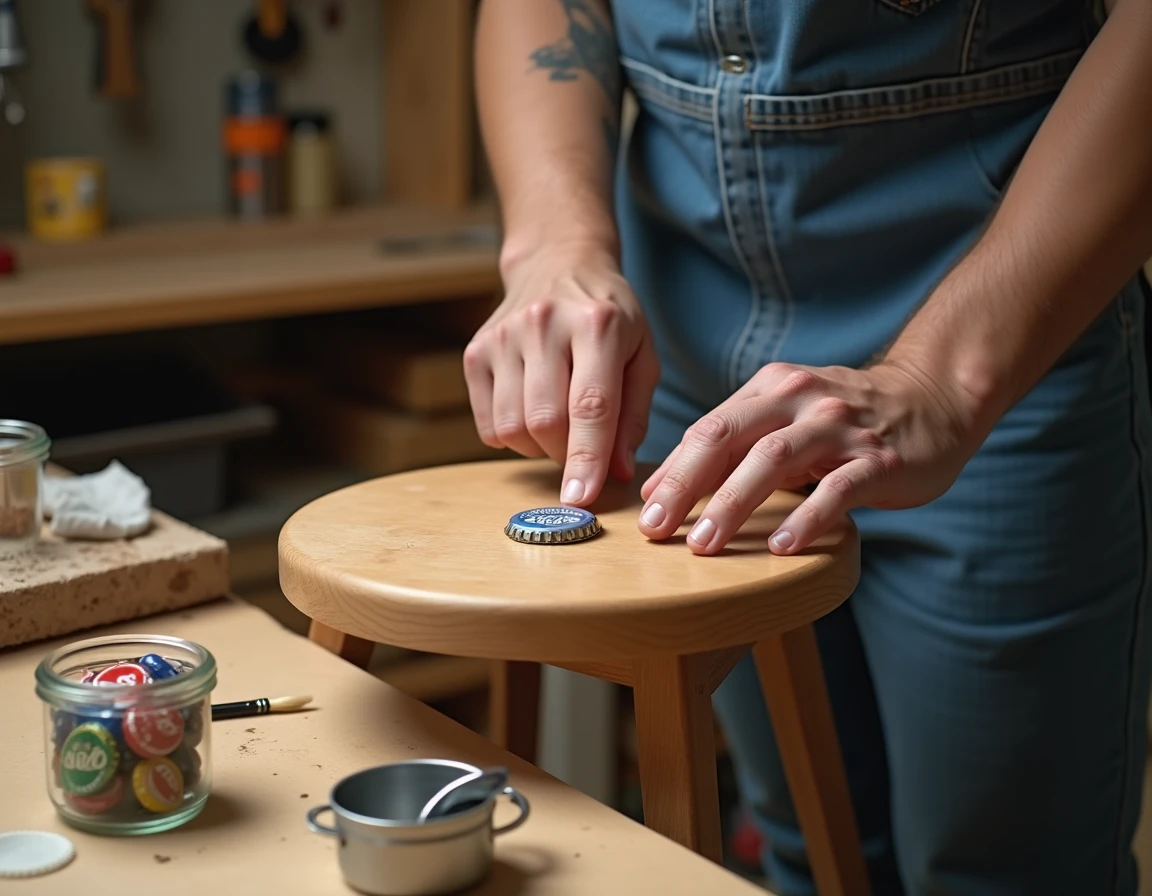
Partially flattening the caps before gluing improves contact with the surface. A small hammer is sufficient to slightly crush the dome without distorting the design. Here are the steps for fixing:
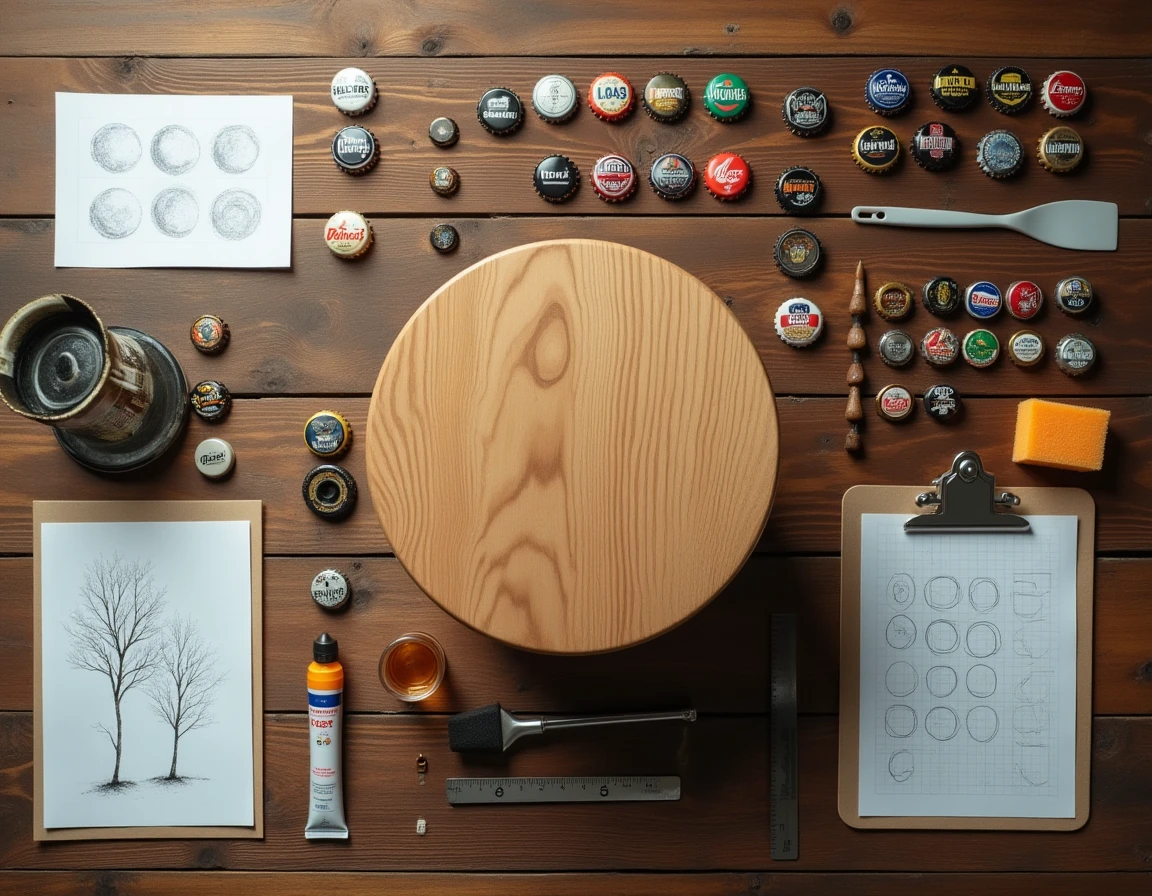
- Arrange the caps dry on the seat to test the layout (pattern, colors, spacing) before any gluing
- Fix each cap with a two-component epoxy glue or contact neoprene glue, applying the glue to the back of the cap and not on the wood
- Allow to dry for at least the time indicated by the glue manufacturer, then check that each cap withstands thumb pressure
- Create a peripheral formwork with wide adhesive tape or a wooden strip to contain the casting resin on the seat
The formwork is essential for resin pouring. Without it, the resin flows over the sides and creates drips that are difficult to fix.
Cap stool and resistance standard: a usable seat for everyday use
A stool covered with caps and resin can serve as a functional seat, but under certain conditions. The European standard EN 12520, which governs domestic seating, imposes requirements for load-bearing capacity and abrasion resistance. Caps simply glued without resin or protective surface do not meet these requirements.
Once cured, epoxy resin forms a rigid shell that distributes the load over the entire surface. The thickness of resin above the caps must be sufficient so that the metal never comes into direct contact with the user. Two successive pours with intermediate sanding provide a uniform covering thickness.
Comfort and safety of the seat
Even encased in resin, the caps create a hard surface. For everyday use (kitchen, counter, workshop), a removable cushion or felt pad provides the comfort that resin alone does not offer. This addition also protects the surface from scratches.
The edges of the stool deserve special attention. After demolding the formwork, the resin edges are sharp. A gradual sanding (medium grit followed by fine) followed by polishing or a final layer of fine resin rounds the edges and eliminates any risk of cuts.
Maintenance and durability of a decorative stool with caps
Epoxy resin is resistant to water and common household products. A cleaning with a damp sponge is sufficient for regular maintenance. Two precautions extend the life of the stool:
- Avoid prolonged exposure to direct UV light, which yellows the clear resin in a few months (place the stool indoors or use a resin with UV filter)
- Do not place hot objects directly on the surface, as the resin softens at high temperatures and can mark
- Apply a protective wax for resin once or twice a year to maintain shine and limit micro-scratches
Resin with UV filter costs slightly more but prevents yellowing that dulls the colors of the caps. For a decorative object intended to last, this investment is justified.
A sturdy wooden stool, well-flattened and glued caps, two layers of sanded resin, and careful finishing of the edges result in a piece of furniture that is both original and functional. The difference between a decorative object placed in a corner and a true seat lies in these details of preparation and finishing that resin makes possible.